Spring是一个基于IOC和AOP结构的J2EE系统的框架。
IOC反转控制是Spring的基础,简单来说就是创建对象由以前的程序员自己new构造方法来调用,变成了交由Spring创建对象。
Spring创建对象
DI依赖注入Dependency Inject。简单地说就是拿到的对象的属性已经被注入好相关值了,直接使用即可。
Spring 框架测试
建立一个类
1 | /** |
在src文件夹下建立applicationContext.xml文件
在bean中配置类的实例c, 并配置实例属性。
1 | <?xml version="1.0" encoding="UTF-8"?> |
测试Spring类
1 | /** |
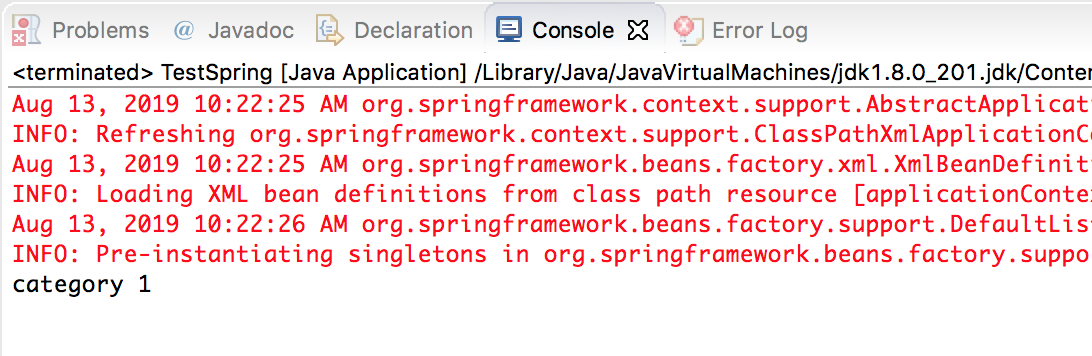
运行测试类,获得结果
通过applicationContext注入一个对象
建立一个Product类,其字段中包含Category类。
那么在applicationContext.xml文件中,按如下方式注入对象。注意ref="c"
1 | <bean name="p" class="com.how2java.pojo.Product"> |
通过注解来注入对象
通过context:annotation-config/ 对注入对象行为进行注解
1 | <context:annotation-config/> |
Product代码
1 | public class Product { |
也可以在setCategory(Category cat) 函数上加@autowired,可以起到同样的效果
除了@autowired之外也可以加上@Resource
1 | @Resource(name="c") |
在applicationContext.xml文件中
添加<context:component-scan base-package="com.how2java.pojo"/>
表示告诉Spring,bean都放在com.how2java.pojo这个包里。注意的是因为配置从applicationContext.xml移植出来了,所以对象初始化要放在类定义里边。
1 | package com.how2java.pojo; |
1 | package com.how2java.pojo; |
AOP面向切面编程
AOP 即 Aspect Oriented Program面向切面编程。
在面向切面编程的思想里边,把功能分为核心业务功能和周边功能。
核心业务功能,包括登录,增加数据,删除数据等。
周边功能,包括性能统计,日志,事务管理等等。
周边功能在Spring的面向切面编程AOP思想里,即被定义为切面。
在面向切面编程AOP的思想里边,核心业务功能和切面功能分别独立进行开发,然后把切面功能和核心业务功能“编制”在一起,这就叫做AOP。
AOP的基本思路:
- 功能分为两大类,辅助功能和核心业务功能
- 辅助功能和核心业务功能彼此独立进行开发
- 比如登录功能,即使没有性能统计和日志输出也可以正常运行
- 如果有需要,就把“日志输出”和“登录”功能编织在一起,这样登录的时候就可以看到日志输出了
- 辅助功能,又叫做切面,这种能够 选择性的,低耦合的 把切面和核心业务功能结合在一起的编程思想,就叫做切面编程。
1 | //核心功能代码 |
1 | //切面功能代码1 |
1 | //切面功能代码2 |
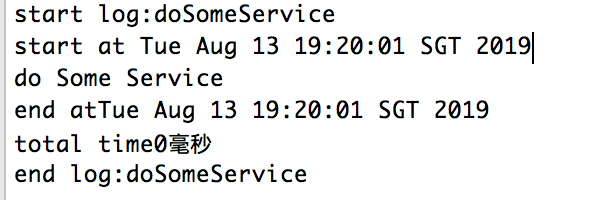
1 | //在applicationContext.xml中进行耦合 |
运行结果
使用注解方式配置AOP
核心功能
1 | package com.how2java.service; |
切片功能
1 | package com.how2java.aspect; |
applicationContext.xml配置文件
1 | <context:component-scan base-package="com.how2java.aspect"/> |
其运行结果与上述相类似。